

Before you begin
Before connecting a shared inbox, ensure that:- Your institution’s IT team has completed the Microsoft 365 setup process
- You have access to the shared mailbox in Microsoft 365
- You are assigned as an Admin in Peach
Connecting a shared inbox during onboarding
The shared inbox selection screen is only shown during onboarding when Peach does not yet have a shared inbox connected for your institution. This commonly occurs when:- A new institution is setting up Peach for the first time
- The first administrator is completing onboarding
- An IT administrator testing the integration
- Another administrator completing setup before you
- An existing Peach deployment
Even if you do not see the shared inbox step during onboarding, you can connect additional inboxes later from Settings.
Connect a shared inbox from Settings
Navigate to: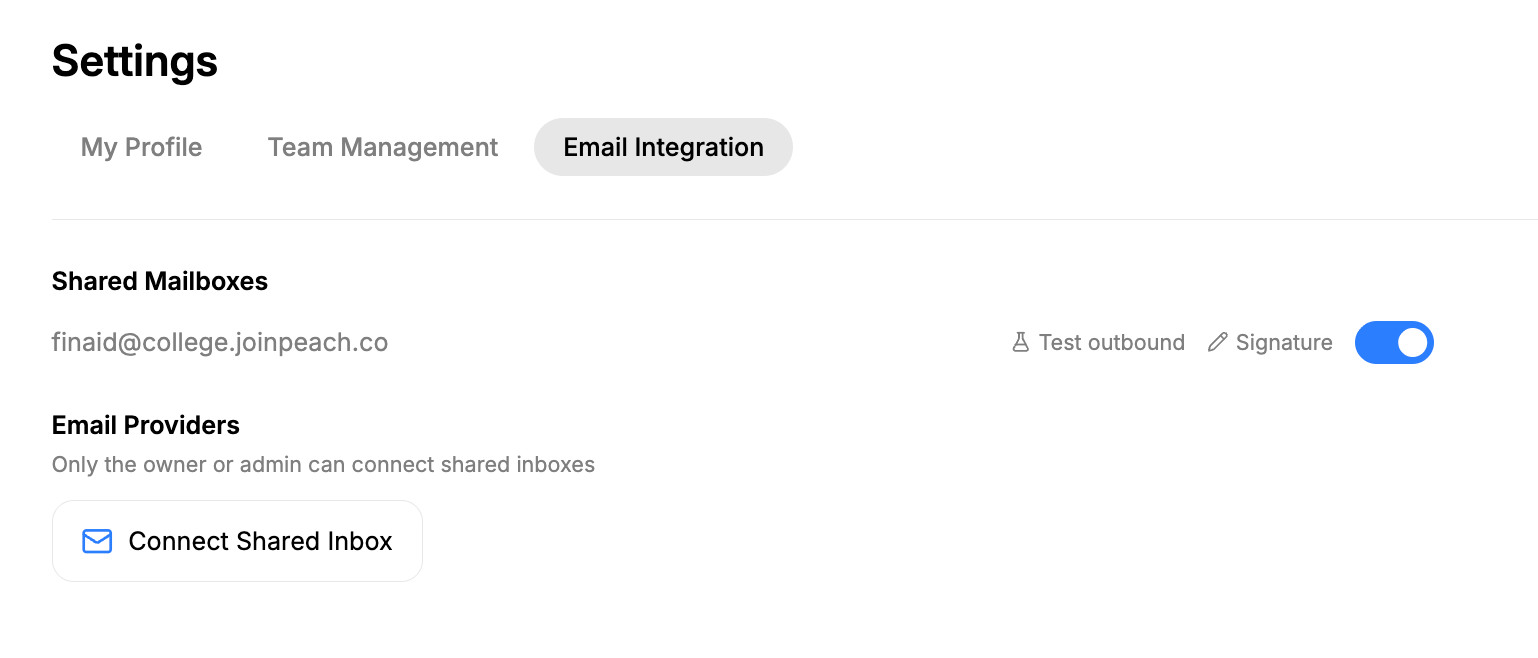
Select a shared inbox
Begin typing the name of the shared mailbox you want to connect.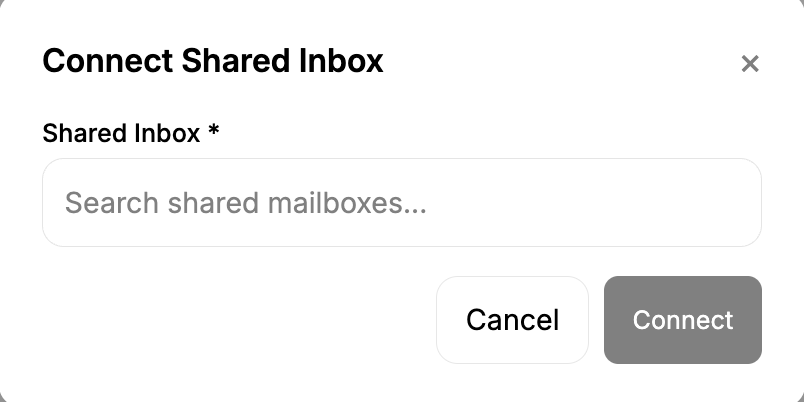
If the shared mailbox does not appear when searching, contact your Microsoft administrator to verify mailbox permissions.
What happens next?
After connecting a shared inbox:1
Emails begin syncing
Incoming emails from the shared mailbox are imported into Peach.
2
Tickets are created
Student inquiries become tickets that can be managed by your team.
3
Responses can be sent
Staff can send emails directly from the connected shared mailbox.
Next step
Explore Tickets
Learn how incoming emails become tickets and how your team can manage student inquiries in Peach.
Having trouble with your connection? See Microsoft 365 troubleshooting for help with sign-in, mailbox access, and email delivery issues.